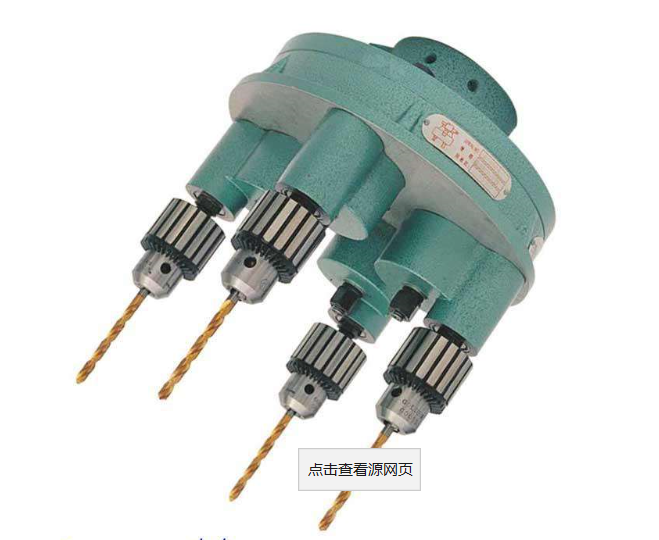
3.2 Diamond boring hole
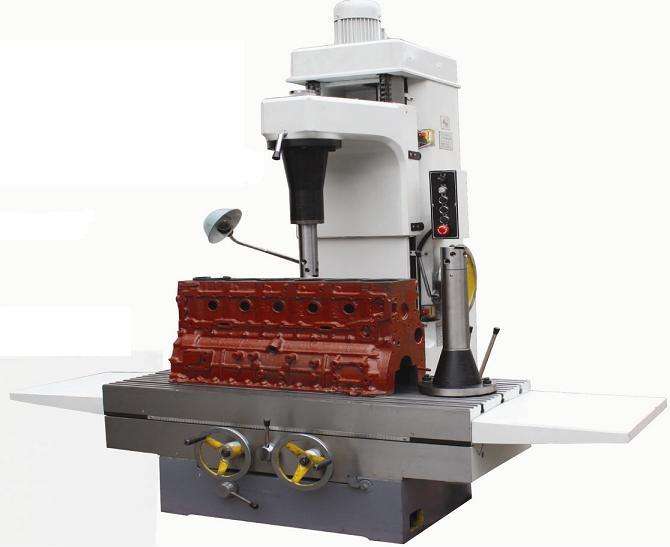
Compared with general boring, diamond boring is characterized by a small amount of cut, a small amount of feed and a high cutting speed. It can obtain a very high machining accuracy (it7-it6) and a very smooth surface (RA 0.4-0.05 μ m). Diamond boring tool was first used in diamond boring. Now, carbide, CBN and artificial diamond tools are widely used in diamond boring. Diamond boring is mainly used to process non-ferrous metal workpieces, also can be used to process Cast Iron and steel parts.
The depth of cutting (back draft) is 0.2-0.6mm for pre boring, 0.1mm for final boring, 0.01-0.14mm/r for feeding, 100-250m/min for cutting cast iron, 150-300m / min for processing steel and 300-2000m / min for processing non-ferrous metals.
In order to ensure that the diamond boring machine can achieve high machining accuracy and surface quality, the machine tool (diamond boring machine) used must have high geometric accuracy and rigidity. The spindle of the machine tool supports commonly used precision angular contact ball bearings or hydrostatic sliding bearings, and the high-speed rotating parts must be accurately balanced. In addition, the movement of the feed mechanism must be very stable, so as to ensure that the worktable can do a stable low-speed feed operation Move.
Diamond boring has good machining quality and high production efficiency. It is widely used in the final machining of precision holes in mass production, such as engine cylinder holes, piston pin holes, spindle holes on the spindle box of machine tools, etc. However, it should be noted that when the diamond boring process is used to process ferrous metal products, only the boring cutters made of cemented carbide and CBN can be used, and the boring cutters made of diamond can not be used, because the affinity between carbon atoms in diamond and iron group elements is large, and the service life of the cutters is low.
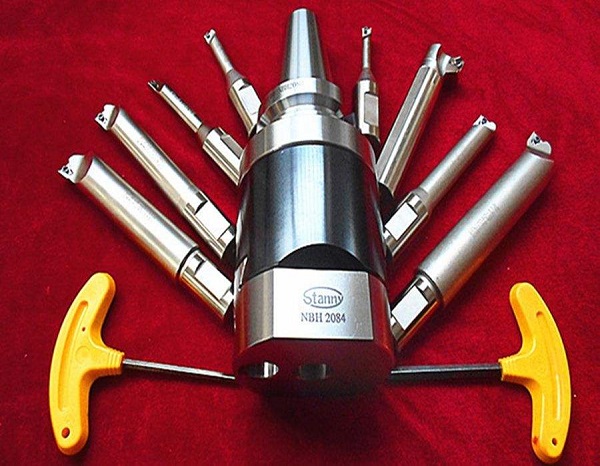
3.3 Boring cutter
Boring cutter can be divided into single edge boring cutter and double edge boring cutter.
3.4 Technological characteristics and application scope of boring hole
Compared with the drilling expanding reaming process, the hole size is not limited by the tool size, and the boring has a strong error correction ability. The original hole axis deviation error can be corrected by multiple boring, and the position accuracy of the boring and the positioning surface can be kept high.
Compared with turning outer circle, the boring quality and production efficiency are not as high as turning outer circle because of the poor rigidity and deformation of the tool bar system, the poor condition of heat dissipation and chip removal, the large thermal deformation of workpiece and tool.
Based on the above analysis, it can be seen that boring has a wide range of processing, and can process all kinds of holes with different sizes and different accuracy levels. For holes with larger diameter and higher requirements for size and position accuracy, boring is almost the only processing method. The machining accuracy of boring is it9 ~ it7. Boring can be carried out on boring machine, lathe, milling machine and other machine tools. It has the advantages of flexibility and is widely used in production. In the mass production, in order to improve the efficiency of boring, the boring die is often used.
4. Honing
4.1 Honing principle and honing head
Honing is a method of using honing head with grinding bar (oilstone) to finish holes. When honing, the workpiece is fixed, and the honing head is driven by the spindle of the machine tool to rotate and make reciprocating linear motion. In honing, the grinding strip acts on the surface of the workpiece with a certain pressure, and a very thin layer of material is cut off from the surface of the workpiece, and the cutting path is a cross pattern. In order to make the motion track of the sand bar abrasive not repeat, the number of revolutions per minute of the honing head rotation and the number of reciprocating strokes per minute of the honing head shall be the prime number of each other.
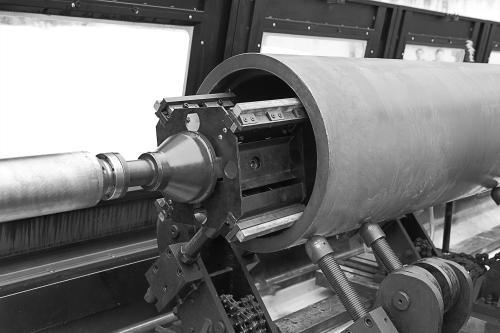
The cross angle of honing track is related to the reciprocating speed and peripheral speed of honing head. The angle affects the honing quality and efficiency. Generally, 40-60 ° is taken for rough honing and 15-45 ° for fine honing. In order to facilitate the discharge of broken abrasive and iron chips, reduce the cutting temperature and improve the processing quality, sufficient cutting fluid should be used during honing.
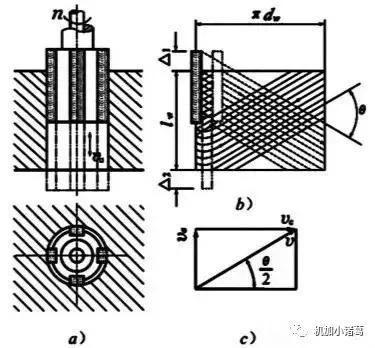
In order to make the wall of the hole to be processed evenly, the stroke of the sand bar should exceed the stroke of a section at both ends of the hole. In order to ensure uniform honing allowance and reduce the influence of spindle rotation error on machining accuracy, floating connection is mostly used between honing head and spindle.
The radial expansion and contraction of the honing bar on the honing head can be adjusted, and there are various adjustment structures such as manual, pneumatic and hydraulic.
4.2 Honing process characteristics and application scope
1)Honing can obtain high dimensional accuracy and shape accuracy, with machining accuracy of it7-it6. The roundness and cylindricity error of the hole can be controlled within the range of 0.03-0.05mm, but honing can not improve the position accuracy of the processed hole.
2)Honing can obtain high surface quality, the surface roughness Ra is 0.2 ~ 0.25 μ m, and the depth of surface metal modified defect layer is very small 2.5 ~ 25 μ M.
3)Compared with the grinding speed, the rotation speed of honing head is not high (VC = 16 ~ 60m / min), but the honing productivity is still high due to the large contact area between the sand bar and the workpiece and the relatively high reciprocating speed (VA = 8 ~ 20m / min).
Honing is widely used in the machining of engine cylinder holes and precision holes in various hydraulic devices in large-scale production. The hole diameter range is generally ¢ 10-500MM or larger, and deep holes with length diameter ratio greater than 10 can be machined. However, honing is not suitable for machining holes on non-ferrous metal workpieces with large plasticity, nor for machining holes with keyways, spline holes, etc.
5. Hole broaching process
5.1 Broaching and broach
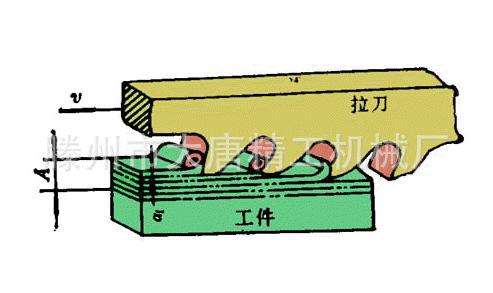
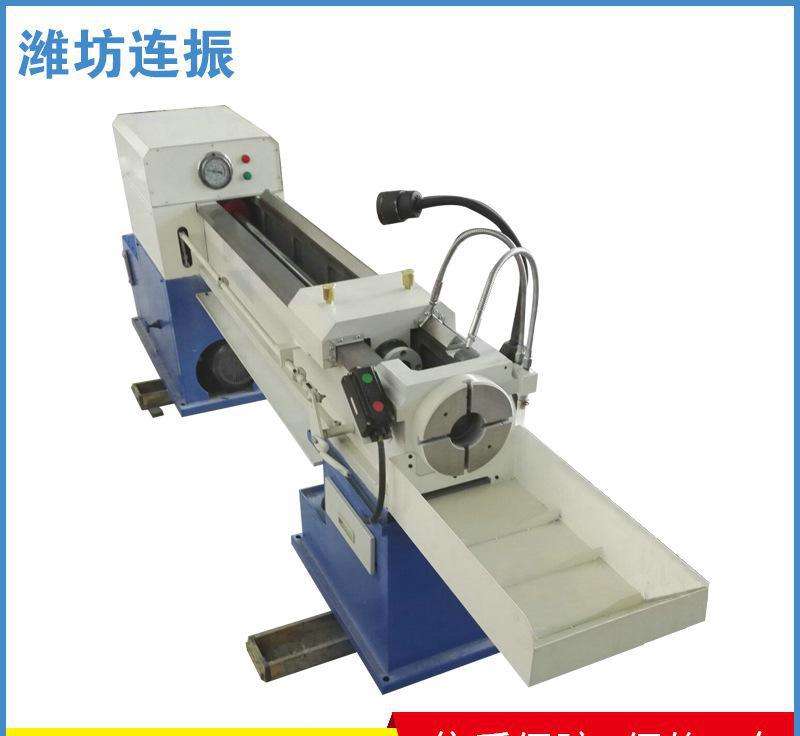
Broaching is a high productivity finishing method, which is carried out on a broaching machine with a special broach. There are two types of broaching machine: horizontal broaching machine and vertical broaching machine.
During broaching, the broach only moves in a straight line at a low speed (main motion). Generally, the number of teeth working at the same time during broach cutting should not be less than 3, otherwise, the broach work is not stable, and it is easy to produce ring-shaped ripples on the workpiece surface. In order to avoid breaking the broach due to excessive broaching force, the number of working teeth should not exceed 6-8 generally.
There are three different broaching methods for broaching holes, which are described as follows:
1)Layered broaching: the feature of this broaching method is that the broach cuts off the machining allowance layer by layer. In order to facilitate chip breaking, there are staggered chip breaking grooves on the cutter teeth. The broach designed according to layered broaching is called ordinary broach.
2)Block broaching: This broaching method is characterized by that each layer of metal on the machining surface is cut by a group of cutter teeth (usually each group consists of 2-3 cutter teeth) with basically the same size but staggered cutter teeth. Each tooth cuts only part of a layer of metal. The broach designed by block broaching is called wheel cutting broach.
1)Comprehensive broaching: this method focuses on the advantages of layered and block broaching. The rough cutting part adopts block broaching and the fine cutting part adopts layered broaching. In this way, the broach length can be shortened, the productivity can be increased, and the surface quality can be better. The broach designed according to the comprehensive broaching method is called the comprehensive broach.
5.2 Technological characteristics and application scope of broaching
1)Broach is a multi edge cutting tool, which can finish the rough machining, finish machining and finishing of holes in sequence in one broaching stroke, with high production efficiency.
2) The precision of broaching mainly depends on the precision of broach. Under normal conditions, the precision of broaching can reach it9-it7, and the surface roughness Ra can reach 6.3-1.6 μ M.
3)When broaching, the workpiece is positioned by the processed hole itself (the guiding part before broach is the positioning element of the workpiece), and broaching is not easy to ensure the mutual position accuracy of the hole and other surfaces; for the processing of the rotary body parts with the coaxiality requirements of the inner and outer circular surfaces, it is often to broach first, and then process other surfaces with the hole as the positioning basis.
4)Broach can not only process round holes, but also other shaped holes and spline holes.
5) Broach is a fixed size tool with complex shape and expensive price, which is not suitable for machining large holes.
Broaching is often used in large-scale production to process through-hole on small and medium-sized parts with hole diameter of Ф 10 ~ 80mm and hole depth of no more than 5 times of the hole diameter.

